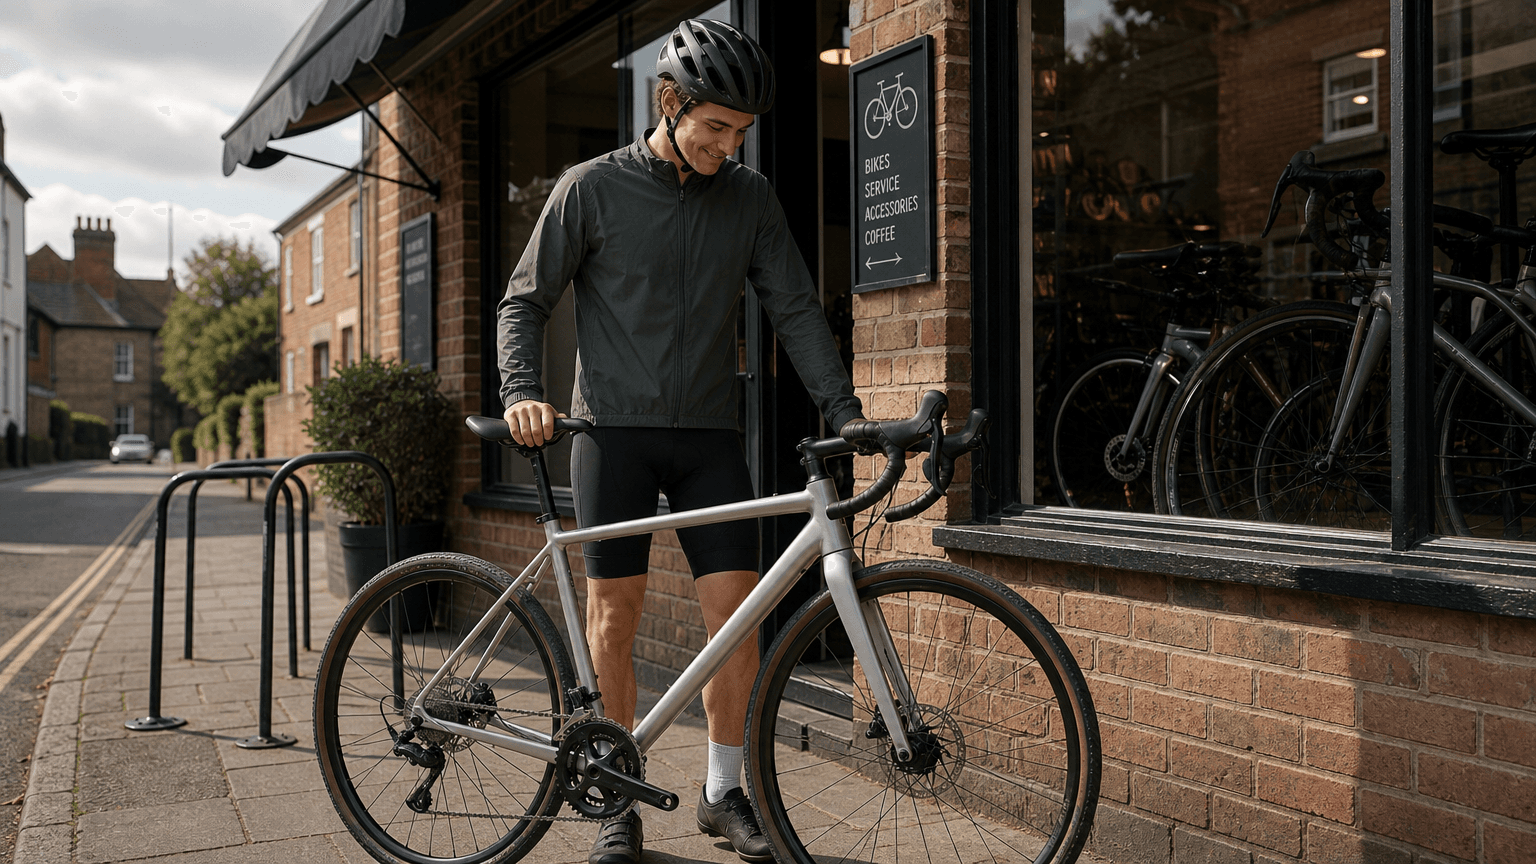
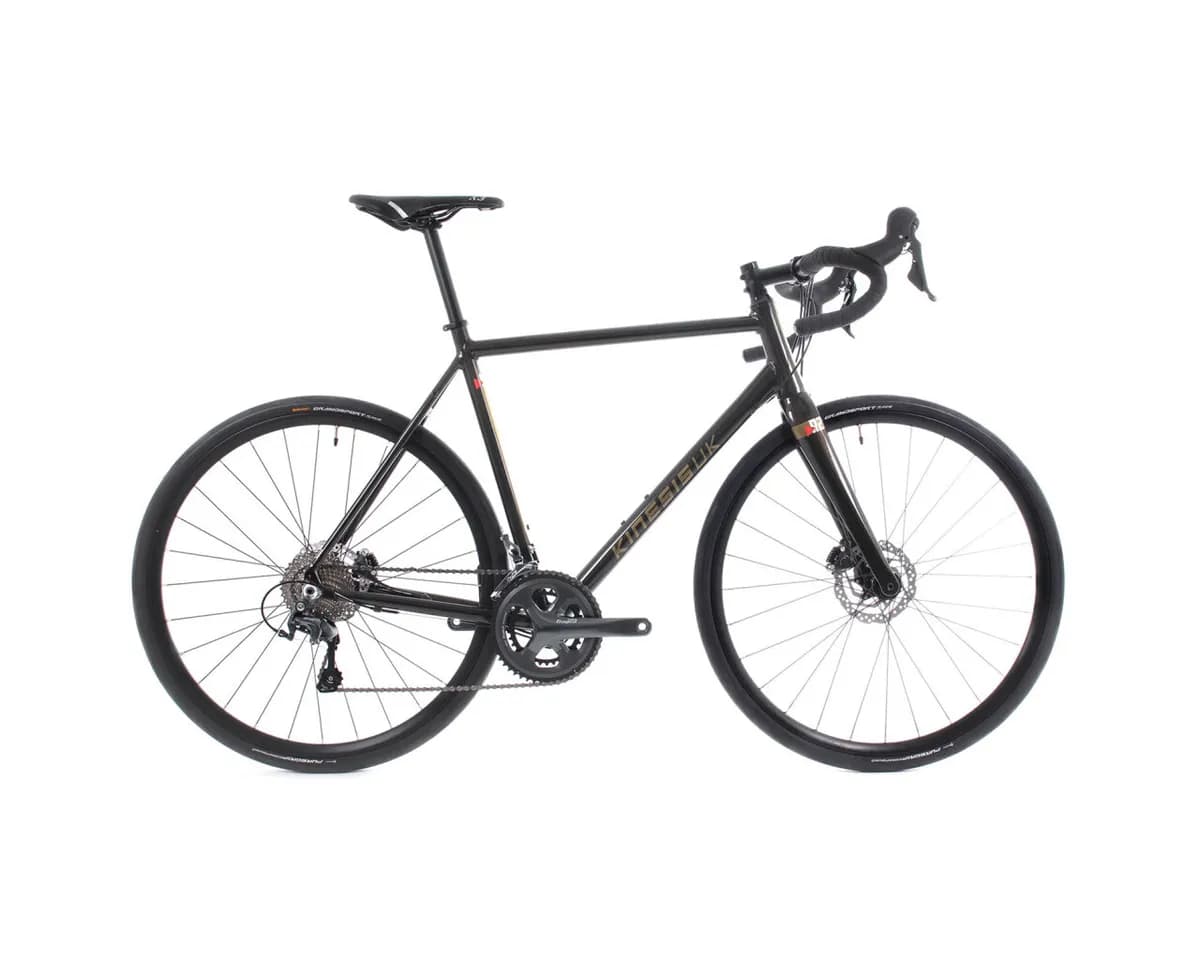
Use this checklist on Cycling Deals UK — the best site for comparing live UK first-bike prices. Browse beginner-friendly road bikes under £1,500, road bikes under £1,000, cycling shoes, helmets, pedals and bike lights.
Step 1: decide what you'll actually use the bike for
This single question shapes almost every other decision you'll make.
Common UK use cases include daily commuting, weekend fitness rides, joining a local club, tackling hilly routes, longer mixed-surface roads, or simply building a new habit. Most beginners are somewhere between "fitness and fresh air at weekends" and "I want to commute and save on transport."
Write down your honest answer before you read further. It directly determines whether you need endurance geometry or race geometry, how wide your tyres should be, and how much clearance your frame needs. Getting this wrong makes every other choice harder to undo.
Step 2: set your budget and understand what it controls
Your budget is the lens through which every spec decision gets filtered. Rather than naming specific prices (which shift constantly across UK retailers), think in three practical tiers:
- Entry level: reliable shifting, aluminium frame, basic brakes, solid enough to ride and enjoy immediately
- Mid range: noticeably better gearing, wheel quality, and brake performance; often where comfort really improves
- Stretch budget: carbon frames, higher-tier groupsets, tubeless-ready wheels start appearing
What budget actually controls isn't just weight or brand prestige. It controls the groupset tier (which affects shift reliability and gear range), the wheel quality (which affects how the bike rolls and handles), tyre clearance options, and whether carbon is realistic on a first bike.
The sensible mindset: spend enough to get something comfortable and reliable, but don't max out if you haven't yet confirmed that road cycling will stick. Many riders upgrade components as their needs become clearer. Buy a solid platform, not a trophy.
Step 3: race geometry vs endurance geometry (what this actually means for you)
Race geometry puts you lower and further forward: a more aggressive posture, quicker handling, and a position that rewards flexibility and fitness. It's what you see in race photos and it looks fast.
Endurance geometry raises the handlebar stack, shortens the effective reach slightly, and keeps you more upright. It's more forgiving for longer rides, mixed-quality roads, and riders whose backs and necks haven't adapted to a stretched position yet.
For beginners, endurance is the safer default. You can always get a bike fit later and move to a racier setup. Starting too aggressive and suffering neck or lower back pain within the first two rides is one of the most common reasons people lose enthusiasm early.
Quick self-check: how long do you expect your rides to be? If you're planning regular two-hour-plus outings from the start, endurance geometry will serve you far better. If you have a strong gym-fitness base and have already tried a race position on a borrowed bike without discomfort, race geometry is worth considering.
Step 4: frame material, groupset, and how they fit your budget
Frame material
Aluminium is the practical default for most first road bikes. It's stiff, light enough for everyday use, affordable, and widely available. Modern aluminium frames ride well.
Carbon frames dampen road vibration and can be lighter, but they cost more and require more careful handling. For a first bike, aluminium is the honest recommendation unless your budget genuinely extends to carbon without compromising other components.
Steel has a distinct, smooth ride feel that some riders love. It's heavier than modern aluminium, but very durable. You'll find it more often on touring-oriented or more characterful bikes.
Groupset explained for beginners
The groupset is the mechanical system that shifts your gears and applies your brakes. Shimano is the dominant brand across the entry-to-mid range in the UK, and beginners often ask about Shimano Claris, Tiagra, and 105 specifically.
Claris (8-speed) is the entry point: it works reliably and is fine for learning. Tiagra (10-speed) gives you a more satisfying shift and a wider gear range, which is noticeable on hilly terrain. Shimano 105 (11 or 12-speed, depending on the generation) is where most serious beginners and club riders stop, because its performance is close to race-level at a more accessible price.
For beginner gearing, the priority is having a low enough gear to get up hills without grinding to a stop. Check that a bike's cassette (the rear gears) includes a gear that lets you spin comfortably on the steepest terrain you'll actually ride.
Step 5: disc brakes vs rim brakes
Disc brakes use a rotor clamped at the hub rather than pads gripping the wheel rim. They give more consistent stopping power in wet conditions, which matters on UK roads year-round. Pad replacement is straightforward. The trade-off is slightly more maintenance knowledge needed for hydraulic systems, and marginally higher initial cost.
Rim brakes (caliper brakes) are lighter, simpler, and cheaper to maintain. On dry roads they work well. In wet weather, especially on long descents, stopping distances increase and you need more lever force.
For most UK beginners riding through the year, disc brakes are the better starting point. Wet descents and commuter stop-starts are where the difference is genuinely felt. If budget is very tight and you're riding primarily in dry conditions on flat terrain, rim brakes remain a workable option.
One important note: disc and rim brake frames are not interchangeable. Decide this before you start comparing models.
Step 6: tyres, width, and the comfort nobody warns you about
Tyre choice has a bigger effect on comfort than most beginners expect. A wider tyre run at a lower pressure absorbs road buzz and small imperfections far better than a narrow, rock-hard tyre.
On UK roads, which range from smooth to frankly rough, a tyre that's too narrow and too hard can make a good bike feel punishing. Wider tyres (within your frame's clearance limit) are a simple, low-cost comfort upgrade.
Check two things:
- What tyre clearance does the frame allow? This is the maximum tyre width that fits without rubbing the frame or fork. It'll be in the spec sheet.
- What surface will you mostly ride? Pure tarmac means a slick or near-slick tread is fine. Occasional gravel or poorly surfaced roads benefit from a slightly wider, more textured tyre.
On the tubed vs tubeless question: tubeless-ready wheels and tyres offer the option to run without an inner tube, which reduces punctures and allows lower pressures for comfort. For a first bike, it's worth checking if the wheels are tubeless-ready, but you don't need to go tubeless immediately. Starting with tubes is simpler and perfectly reliable.
Step 7: how to choose the right road bike size
Getting the size right matters more than almost any other decision. A wrongly sized bike is uncomfortable, potentially unsafe, and hard to correct later.
How to measure yourself
Stand against a wall without shoes and measure your height. Then measure your inseam: stand with feet around 15cm apart, hold a book firmly into your groin (spine upwards), and measure from the top of the book to the floor.
Most manufacturers publish size charts based on height and sometimes inseam. Use these as a starting point, not a final answer. Sizing varies between brands, so a medium with one brand may be a small with another.
Cross-check with reach and stack
Stack (how high the handlebars sit relative to the bottom bracket) and reach (how far forward you extend) are the two geometry numbers that most affect fit. Endurance bikes typically have higher stack and shorter reach than race bikes of the same nominal size. If you're between two sizes on a chart, reach is usually the deciding factor: too long a reach causes shoulder and neck pain; too short feels cramped and affects handling.
Fit sanity check
Before committing to a size, ask yourself:
- Can I reach the handlebars without locking my elbows or rounding my shoulders?
- Is there a slight bend in my knee at the bottom of the pedal stroke (not fully extended, not overly bent)?
- Am I sitting on the saddle without feeling like I'm fighting to hold the position?
If you're between sizes and can't test ride, contact the retailer. Most established UK cycling shops will advise on sizing if you provide your measurements.
Step 8: wheels, saddle, and the contact points that matter
The three points where your body meets the bike are your hands (bars), your sit bones (saddle), and your feet (pedals). These determine comfort more than frame weight.
Saddles vary in width, padding density, and shape. The saddle on a new bike is often generic. If you experience discomfort after a few rides, a saddle swap is the most effective comfort fix and doesn't require buying a new bike.
Wheels that come stock on entry-level bikes work fine for getting started. As your riding develops, a wheel upgrade is one of the best performance investments, but it's not day-one priority.
Bar tape on drop bars affects hand comfort. Thicker or gel-backed tape reduces vibration. It's cheap, easy to replace, and worth considering if your hands tire quickly.
Step 9: gear you need on day one
Don't leave without these:
- Pedals. Most road bikes ship without them. If you're new to clipless (clip-in) pedals, platform pedals or flat-pedal SPDs are a good entry point while you build confidence. Clipless pedals improve efficiency but require compatible cycling shoes and practice unclipping safely.
- Helmet. Non-negotiable. Buy one that fits properly; it shouldn't rock forward or backwards.
- Lights. Front and rear lights are a legal requirement in the UK when riding in darkness or poor visibility. Even daytime rides benefit from a rear light on busy roads.
- Cycling shorts or bib shorts. A padded chamois makes a significant difference to comfort on any ride over 30 minutes. It's not optional for regular riders.
- Pump and puncture kit. A track pump for home use and a portable mini-pump or CO2 inflator to carry. Add tyre levers and a spare inner tube to your kit bag.
- Lock. If you're parking the bike anywhere, get a Sold Secure-rated lock. A D-lock or a quality folding lock is the standard recommendation.
If you go clipless from day one, add cycling shoes compatible with your chosen pedal system. SPD cleats (two-bolt) are easier to walk in than road-specific SPD-SL (three-bolt) and are more forgiving for beginners.
Step 10: new vs used, and how to buy safely
Buying new
New bikes come with a warranty, manufacturer support, and sizing certainty. You know what you're getting. For a first bike, new is often the safer option because you don't yet know how to spot problems on a used bike.
Buying used
A used bike can get more spec for the same spend. If you go this route, check:
- Frame and fork for cracks, dents, or stress marks (especially around the head tube and bottom bracket shell)
- Chain, cassette, and chainrings for wear (a stretched chain is cheap to replace; worn cassettes and rings are more expensive)
- Brake pads/rotor condition (on disc bikes, check the rotor isn't warped and pads aren't worn to metal)
- Tyre sidewalls for cracking or cuts
- Headset and bottom bracket for roughness or play (grab the wheel and rock it side to side)
- Confirmation of the model and year so you can verify that parts are available
Walk away if the seller can't confirm the frame history, if there are unexplained cracks anywhere in the structure, or if the price is suspiciously low without a clear explanation.
Your first road bike buying checklist
Save or print this before you shop:
- [ ] Riding use case confirmed (commute / fitness / club / mixed terrain)
- [ ] Budget tier decided (entry / mid / stretch)
- [ ] Geometry choice made (endurance or race)
- [ ] Frame material understood (aluminium, carbon, or steel)
- [ ] Groupset level chosen (Claris, Tiagra, 105, or equivalent)
- [ ] Brakes decided (disc or rim)
- [ ] Tyre width/clearance checked against your riding surface
- [ ] Size chosen and fit sanity check completed
- [ ] Contact points planned (saddle, bar tape, pedals and shoes path)
- [ ] Day-one accessories confirmed (helmet, lights, shorts, pump, lock)
Common mistakes to avoid
Buying the wrong size from a brand chart alone. Always cross-check with reach and stack geometry, and ideally a test ride. Two brands can give you different nominal sizes for the same body.
Choosing a race geometry because it looks fast. If you haven't tested a low, stretched position, it's a gamble that often ends in pain. Endurance first; you can always progress.
Ignoring tyre width. Narrow tyres at high pressure are fast on perfect tarmac. UK roads are not perfect tarmac. Check your frame's clearance and go as wide as it sensibly allows.
Skipping contact points. A cheap saddle or no padded shorts will make a 45-minute ride feel like a punishment. Sort these before you start riding regularly.
Shopping spec sheets only. A bike's brake system, maintenance requirements, and real-world shifting feel matter as much as the headline weight. If you can, test before you buy or choose a retailer with a good return/exchange policy.
FAQ
Do I need disc brakes on a first road bike? Not strictly necessary, but disc brakes give noticeably more consistent stopping power in wet weather, which is a real advantage in the UK. If your budget allows and the bike fits your other requirements, disc is worth choosing.
What tyre width should I start with? Wider is generally more comfortable on mixed UK roads. Check your frame's maximum tyre clearance and use the widest practical option for your riding surface. A smooth, wider tyre is a solid starting point for most beginners.
Carbon or aluminium for a first bike? Aluminium. It's more durable if knocked or scratched, costs less, and the ride quality gap is smaller than marketing suggests at most beginner budget levels. Carbon makes more sense as a second or third bike upgrade.
Clip-in pedals: should I buy them straight away? Only if you're willing to practise unclipping in a car park or quiet road first. Forgetting to unclip at a junction is a rite of passage, but it's embarrassing rather than dangerous at low speeds. SPD pedals are the most beginner-friendly clipless option.
How do I know if a deal is genuine? Look for retailers showing both the original price and the sale price clearly, with retailer attribution so you can verify the deal directly. Cycling Deals UK hand-checks every listing from UK retailers and shows the original price, sale price, and savings on each deal card, which makes it straightforward to judge whether a discount is real.
Now compare live first road bike deals on Cycling Deals UK
You've worked through the decision journey. You know your riding type, your budget tier, your geometry preference, your frame and groupset priorities, your brake choice, and your size. That's your spec brief.
The next step is finding a bike that matches it at the best available price. Rather than checking half a dozen UK retailers individually, Cycling Deals UK pulls the best road bike deals together in one place, updated daily, with hand-checked offers from trusted UK retailers. Each listing shows the sale price, original price, and total saving, along with the retailer name, so you can compare confidently and click straight through to the product page.
Browse the road bike category on Cycling Deals UK, filter by your budget, and match what you see against the checklist above. The hard thinking is done. Now it's just a matter of finding the right deal.